
.svg)

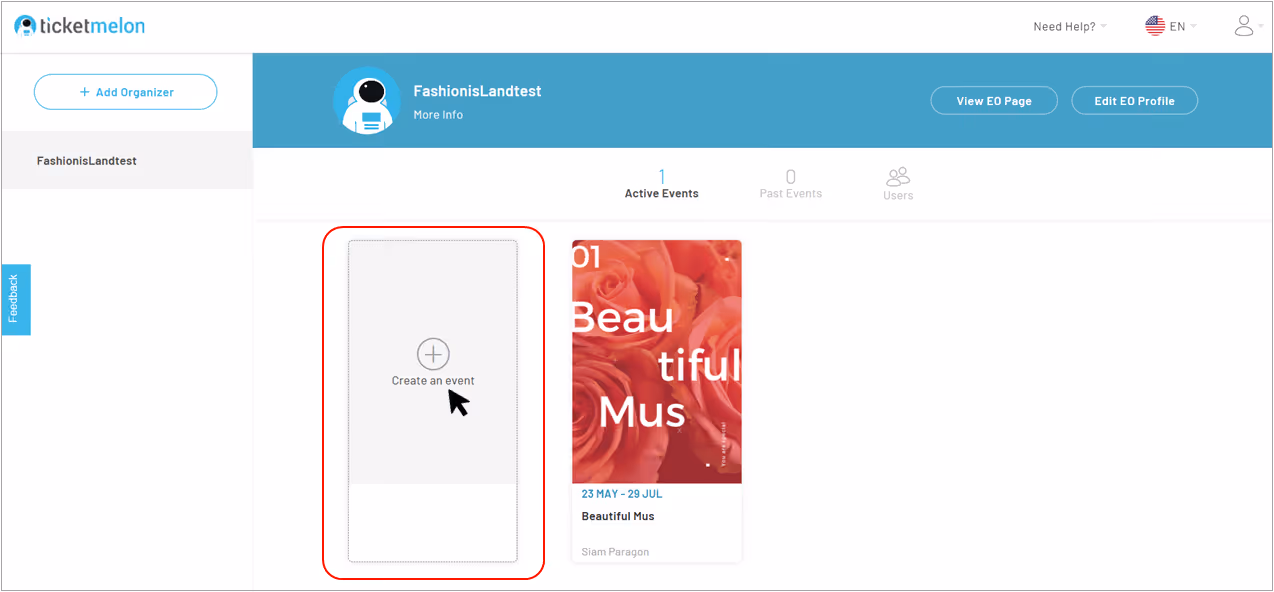
To start creating an event on Ticketmelon, click ‘Create an event’.
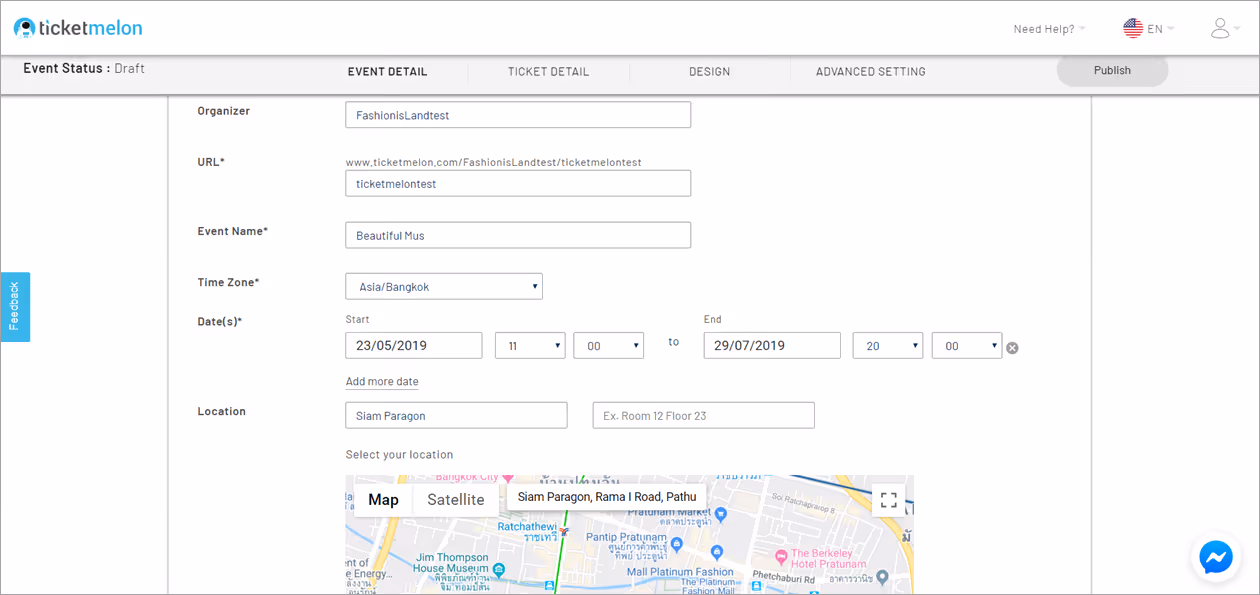
1. Event Detail:
Fill in basic information about your event.
- Set ‘Event URL’ by putting the last part of the URL.
Example: If you want your event URL to be www.ticketmelon.com/event/myfirstevent, you can just put ‘myfirstevent’ in the field. - Event name
- Select Time Zone. Then, set the date and time of the event.
If there are more event dates, click ‘Add more date’ and set another date and time - Click ‘Select Location’ to let your attendees know where the event will take place. Type in the Venue Name and Venue Detail. Then put the location name in the search box of Google map below. Your location will be pinned. The pinned location will be shown on the event page.
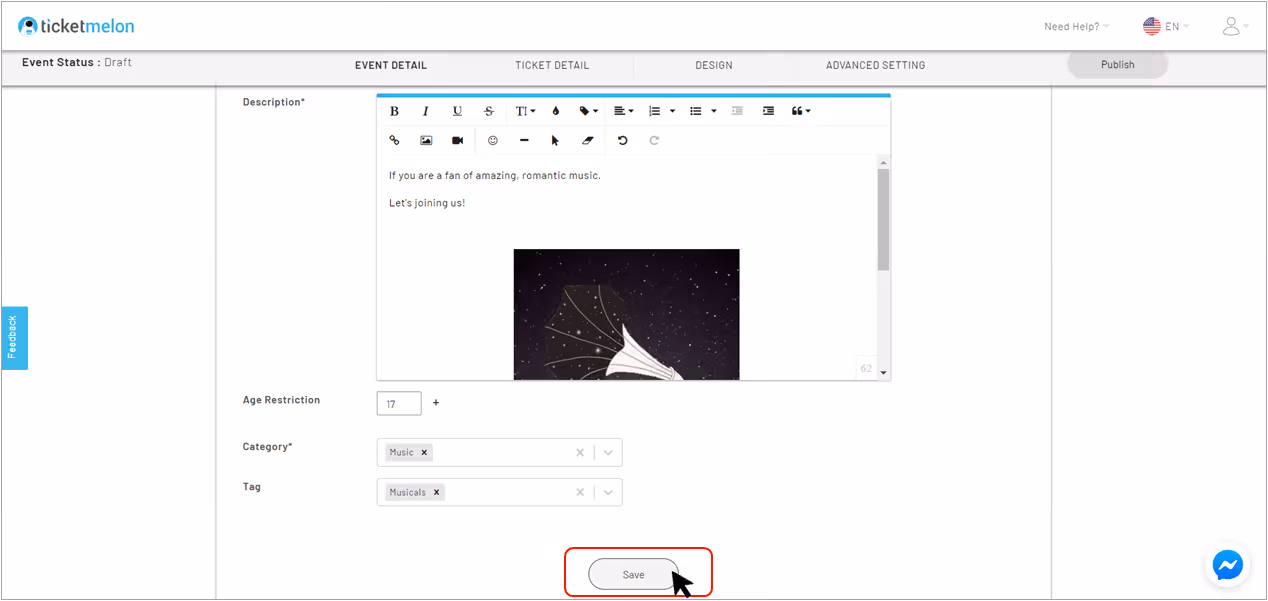
- In ‘Description’, input the event details. You can customize texts and insert photos (via ‘Image’ tool) or videos (via embedded tool).
- Set ‘Age Restriction’. If there’s no age restriction for your event, select ‘0’.
- Select event category (You can select more than 1 category if the event belongs to more than one) and add hashtags for your event. Hashtags make it easier for people to discover your event!
Click ‘Save’ to go to the next page (Ticket Detail).
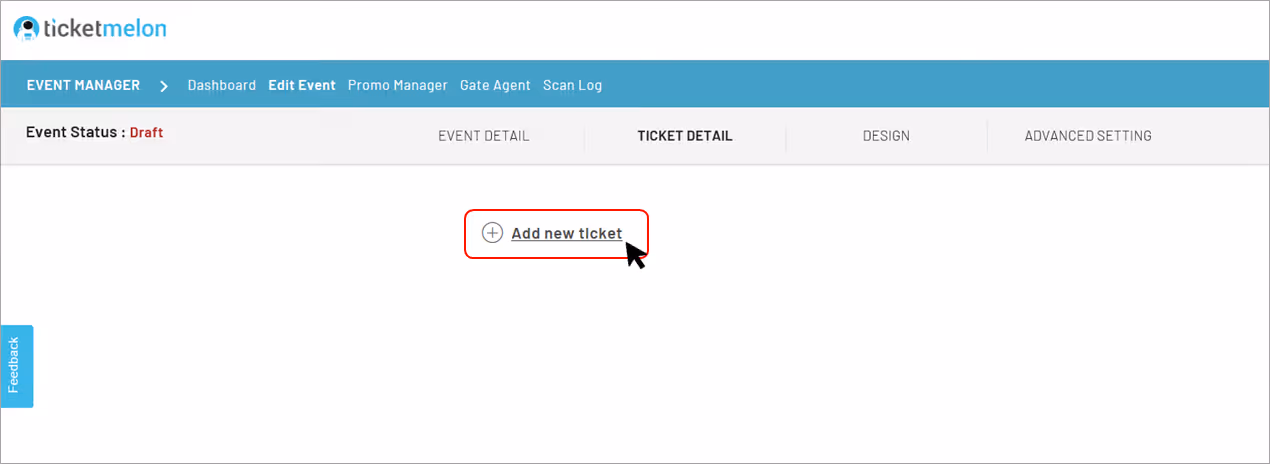
2. Ticket Details:
Set up the ticket types of your event in this section by clicking ‘Add new ticket’
The ticket template will appear. Please fill in the following information:
- Ticket Name – ex. General Admission, Regular Ticket, VIP Ticket
- Quantity – The maximum quantity of tickets that is available for purchase
- Price – Ticket price (THB). If it’s a free event you can just put ‘0’.
- Select the event date and time which the ticket type is eligible for. (This only applies to multi-day or multi-session event where ticket types need to match entry date).
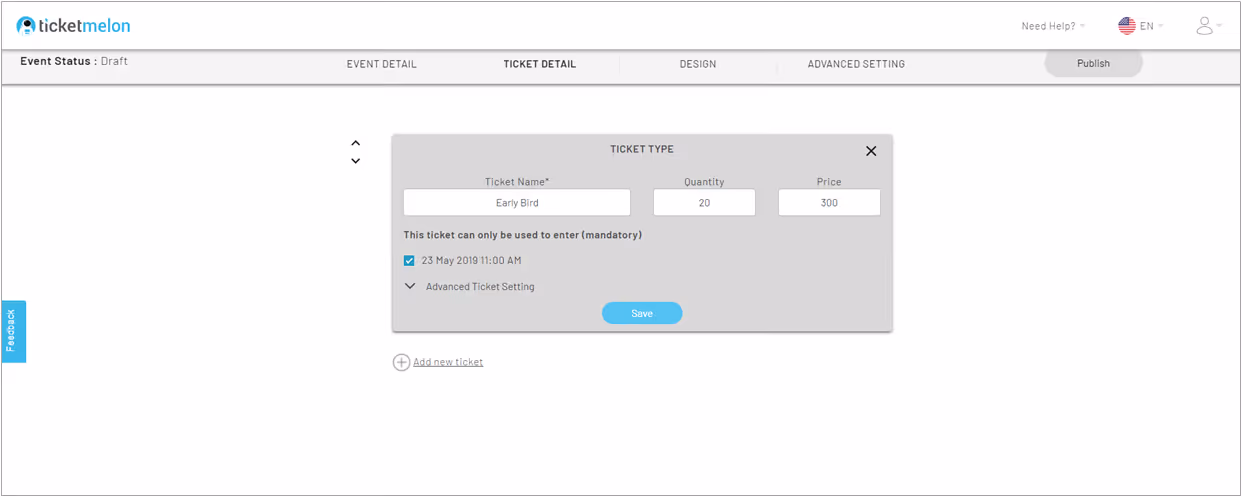
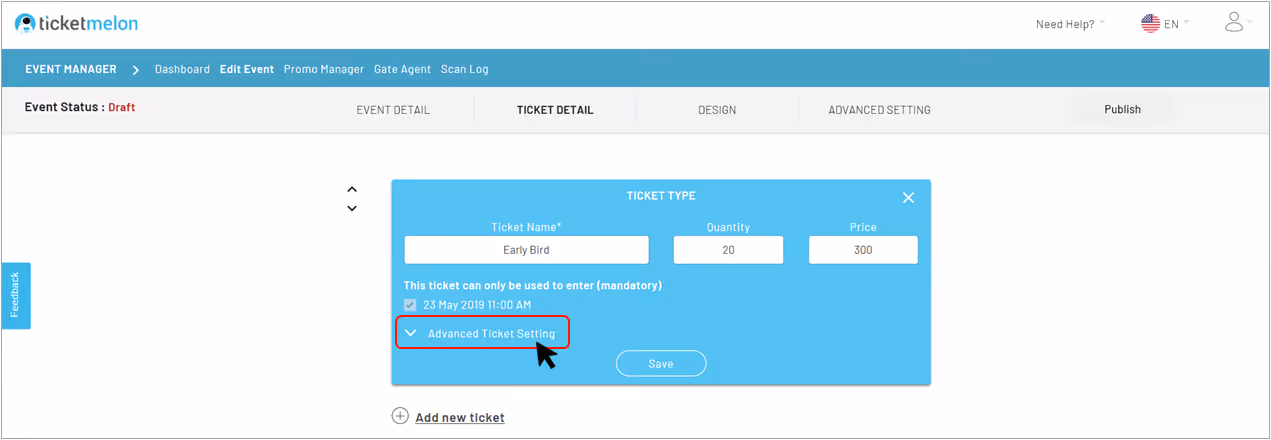
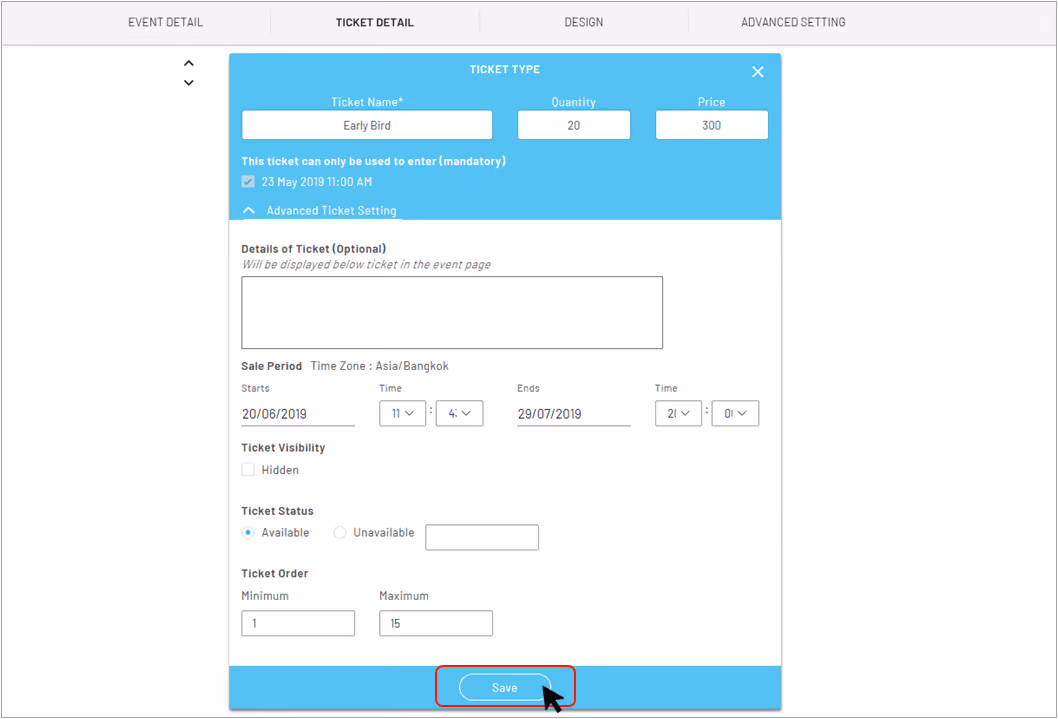
- Click ‘Advanced Ticket Setting’ to customize your ticket details.
Details of Tickets
you can put details of the ticket types. This will be shown below the ticket name on the event page and may help the ticket buyers to choose the ticket type that suits them most.
- Sales Period – By default, the ticket sales will begin once the event has been approved and published in Ticketmelon and will be available until the event ends.
However, you can set custom ticket sales period in this section and the ticket sales will start and end automatically according to your setting. - Ticket Visibility – The ticket type will be hidden from the event page when you check the box for ‘hidden’. You can deselect the box to unhide the ticket type whenever you want.
The hidden ticket type can also be revealed by using the promo codes in case you only want some people see the ticket type. Click here to learn more about promo codes. - Ticket Status – select the availability of the ticket type. You can select the box for ‘Unavailable’ if you want to stop or pause the ticket sales. You can put description such as Coming soon, Sold Out, Sales ended, etc.
- Ticket Order – set the minimum and the maximum number of tickets that the ticket buyers can buy per 1 time.
Click the ‘Save’ button when you finish setting up the ticket type. If you want to add more ticket types, simply click ‘Add new ticket’ and repeat the process.
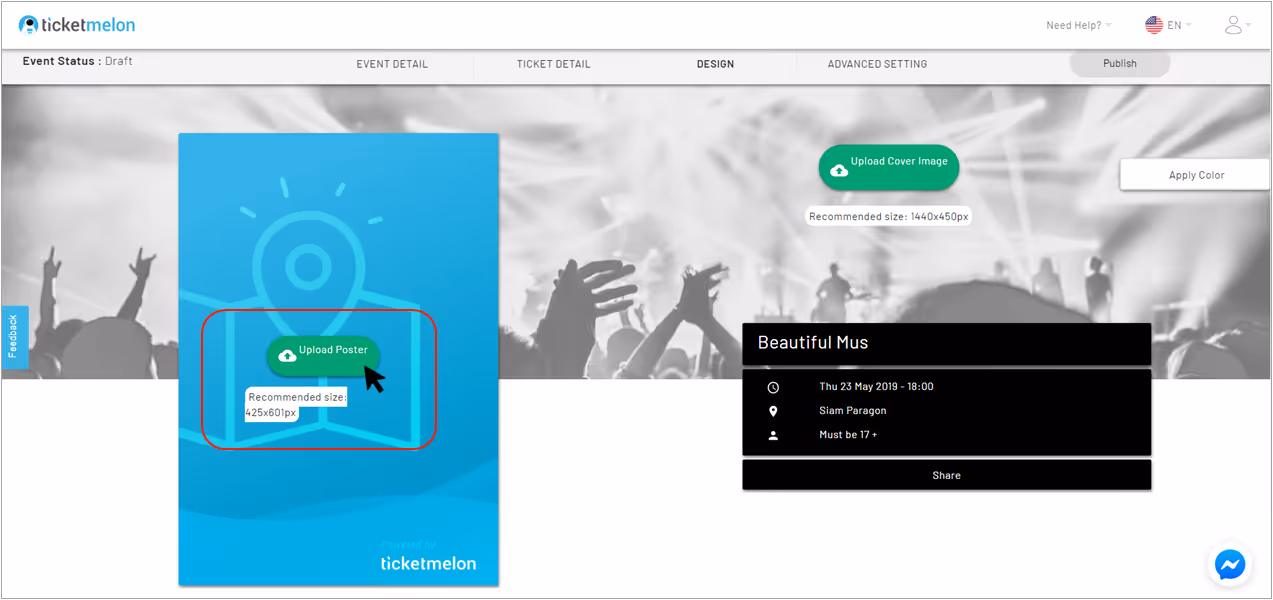
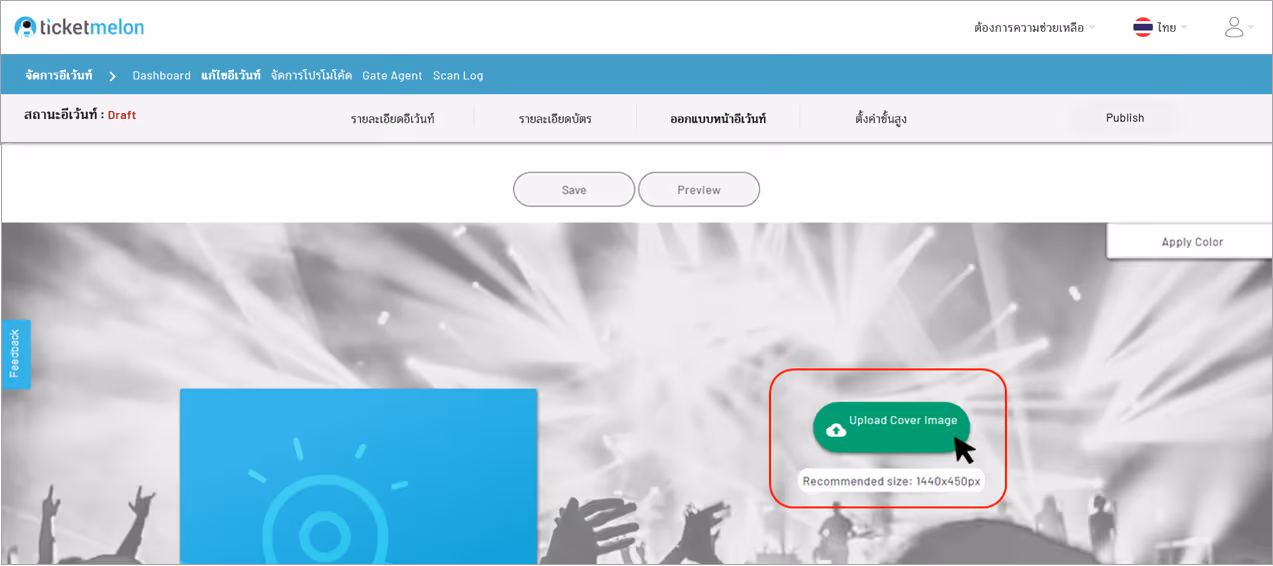
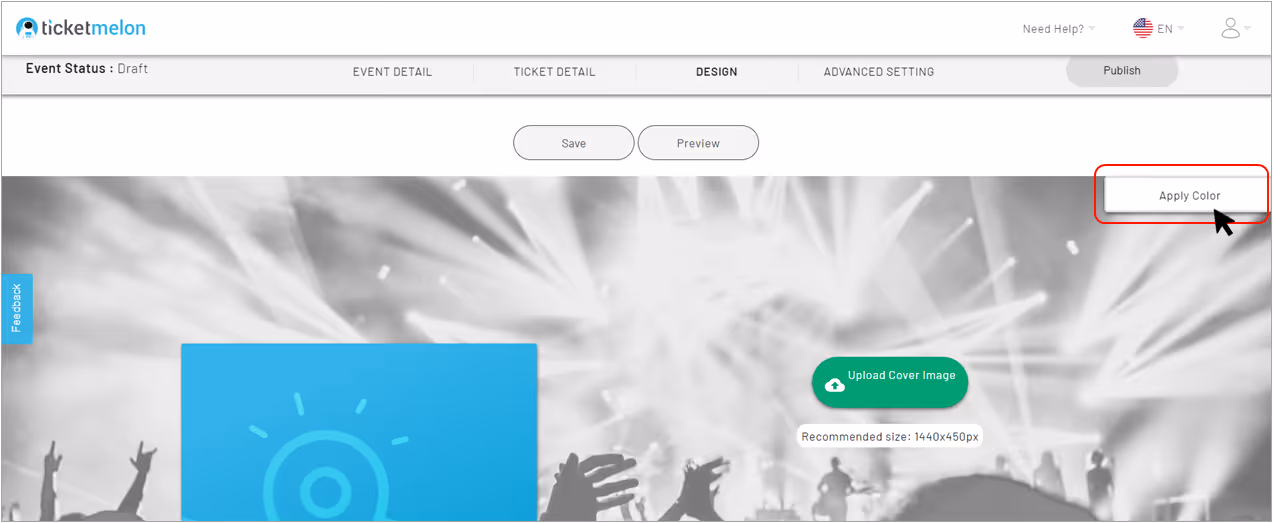
3. Design
Design your own event page by simply uploading poster and cover photo and adjusting the colors of the event pages
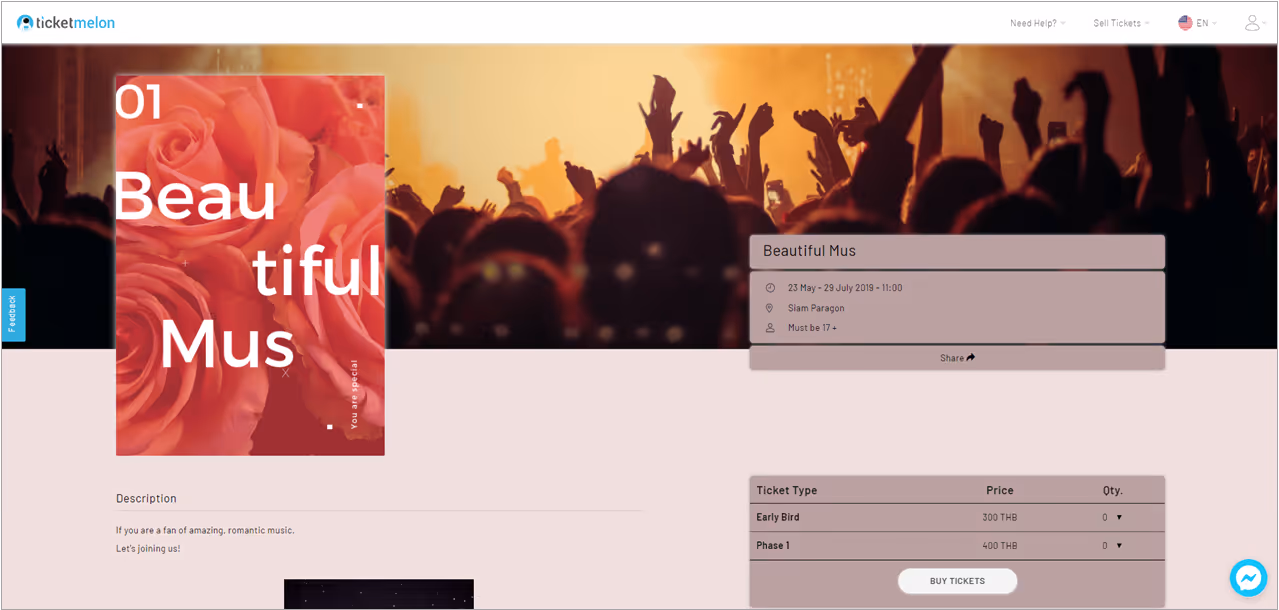
Click ‘Upload Poster’ to select a poster file (.png or .jpg) from your computer and insert it as the poster of your event page. For the best look of your event page, we recommend you insert an image of size 425 x 601 pixel.
Click ‘Upload Cover Image’ to select a cover image file (.png or .jpg) from your computer and insert it as the poster of your event page. For the best look of your event page, we recommend you insert an image of size 1440 x 450 pixel.
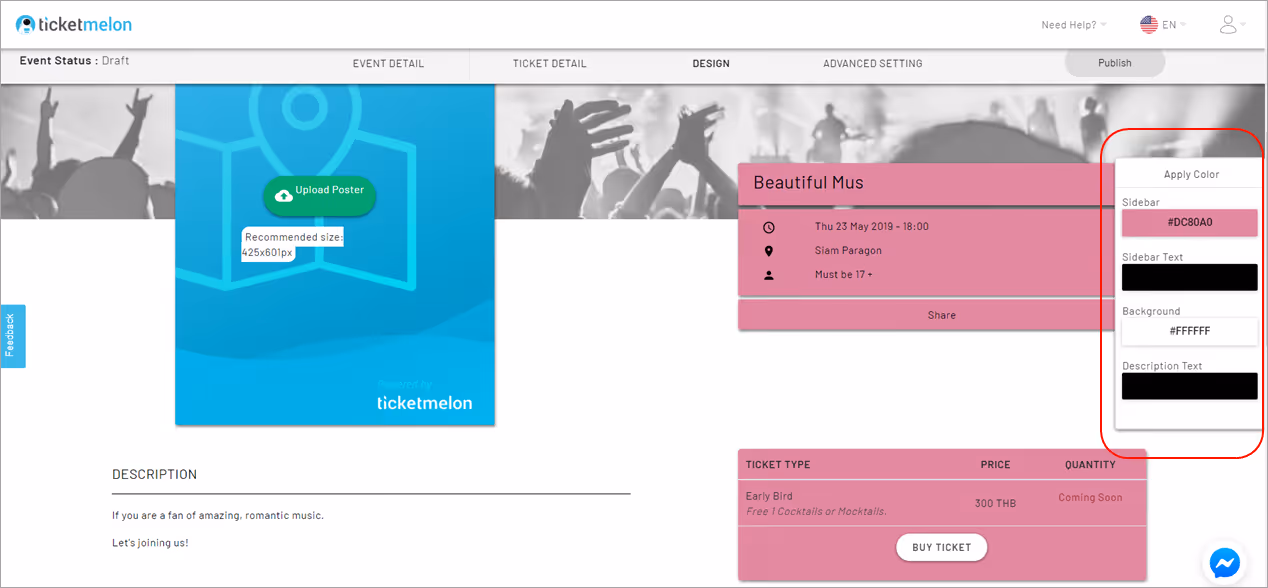
Click the ‘Apply color’ button, there will be drop down for you to choose the color of each part of your event page. Click the ‘Save’ button when you finish designing your page.
Note: Sidebar includes Event Information and Ticket Boxes
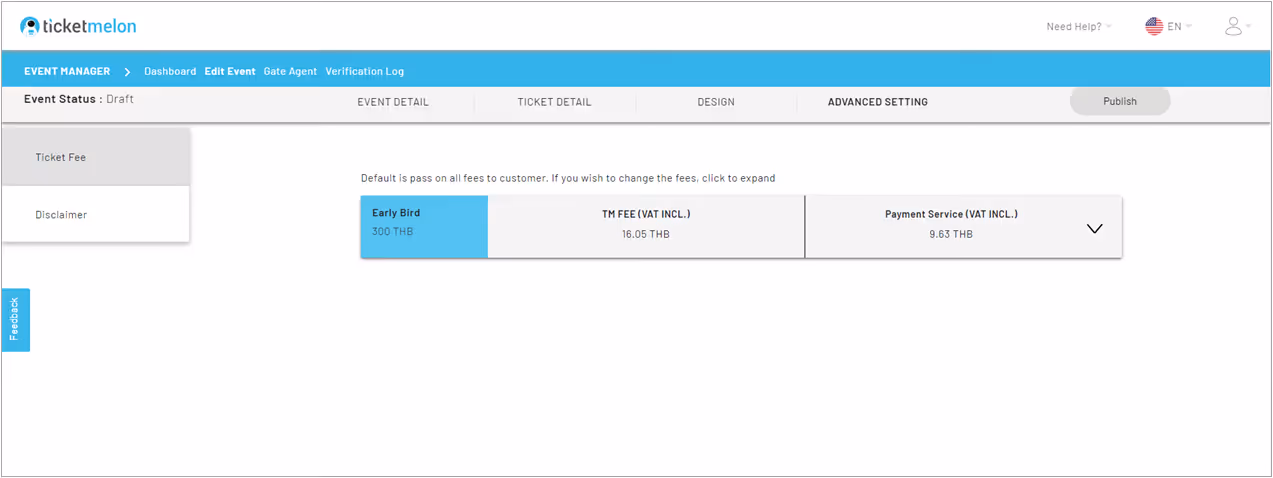
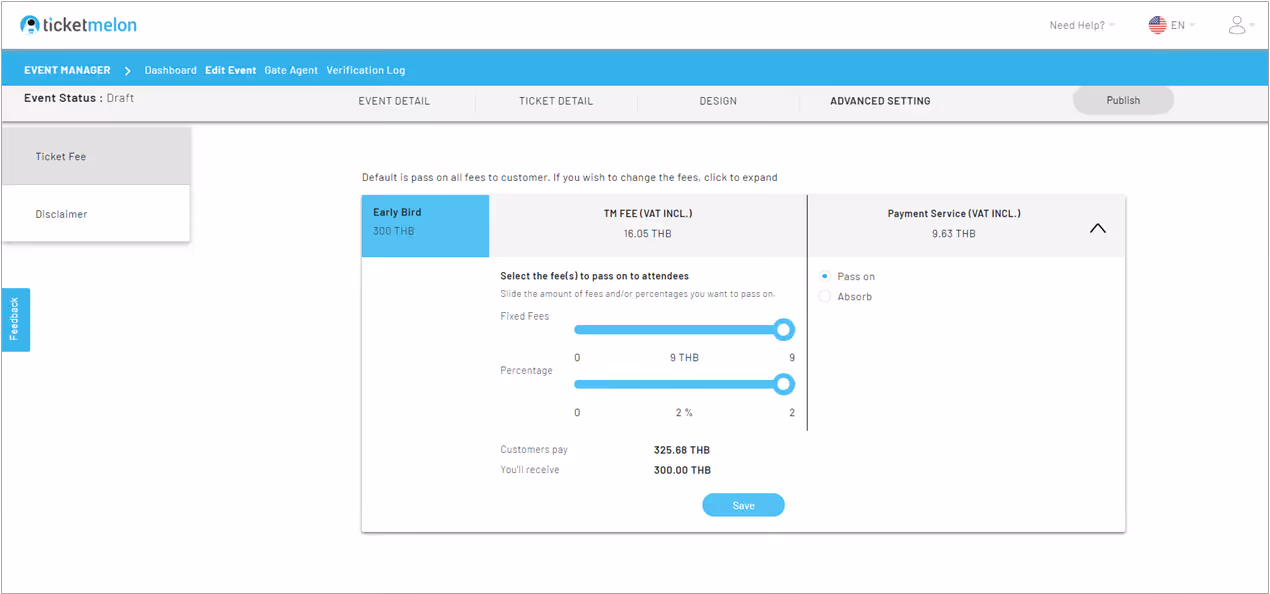
4. Advanced Setting:
You can set the fee options by going to ‘Advanced Setting’ and click ‘Ticket Fee’. The fees will be passed on to the ticket buyers by default. You can use the fee slider to set how much you want to absorb and pass onTicketmelon Fee. For Payment Service fee, choose either to absorb or to pass on to the ticket buyers.
Below the slider, you’re able to see how much a ticket buyer pays per 1 ticket and how much you will get.
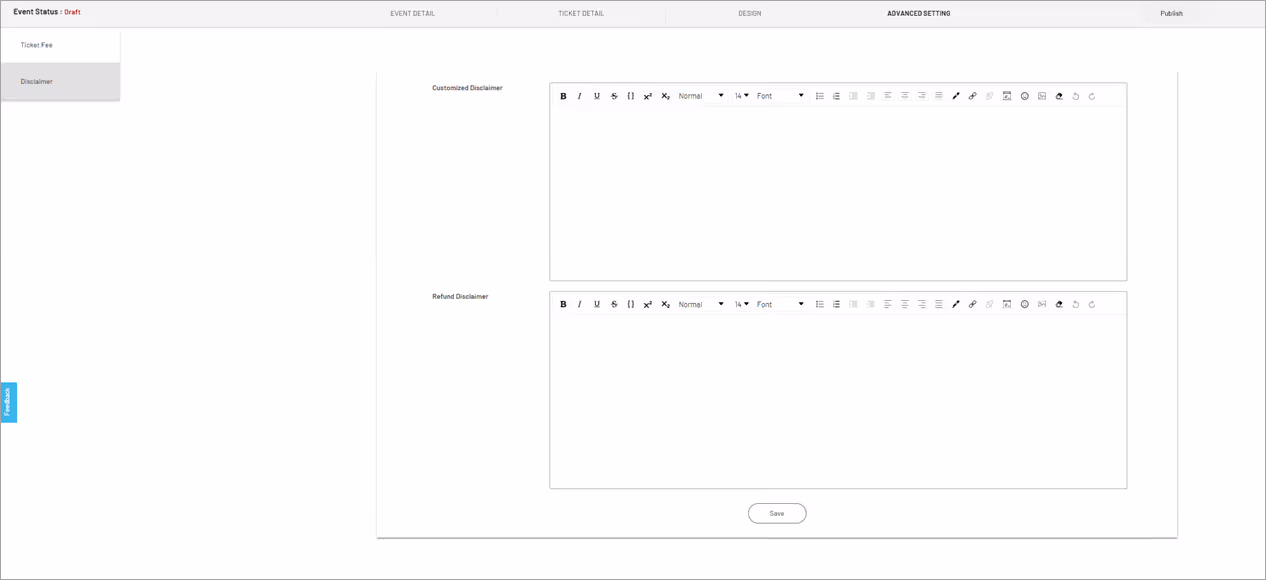
Disclaimer (Optional)
Add event disclaimer, including refund disclaimer in this section to let the ticket buyers know details or conditions of attending the event then click ‘Save’. For example, if the tickets for your event are non-refundable you, should inform the buyers in this section.
Click the ‘Publish’ button on top of the page to submit your event for approval. You will get a confirmation email for creating an event. Ticketmelon team will review your event and contact you back within 24 hours.

